
If you’re a car enthusiast or simply someone who wants to save a few bucks on car maintenance, replacing your brake pads is a job you can tackle on your own. Brake pad replacement might seem like a daunting task, but with the right tools, a bit of patience, and our step-by-step guide, you’ll be well on your way to confidently completing this essential maintenance task. So, roll up your sleeves, and let’s dive into the world of DIY brake pad replacement.
Why Replace Your Brake Pads
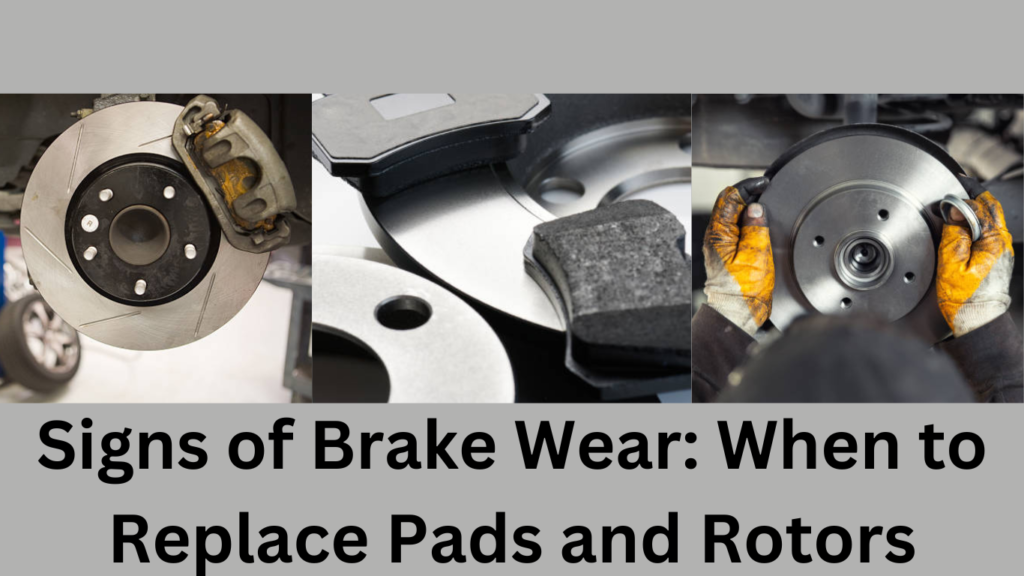
Before we get into the nitty-gritty of the replacement process, it’s crucial to understand why brake pad replacement is necessary. Brake pads are a vital component of your car’s braking system, responsible for creating the friction that slows down and stops your vehicle. Over time, these pads wear down due to the constant friction, leading to reduced stopping power and increased braking distance. Replacing worn-out brake pads is essential for your safety and the well-being of your vehicle.
Tools and Materials You’ll Need
Before you start the brake pad replacement process, gather the following tools and materials:
- Jack and Jack Stands: These are essential for lifting and safely supporting your car.
- Lug Wrench: Used to remove the wheel’s lug nuts.
- C-Clamp or Brake Caliper Tool: Necessary for compressing the caliper piston.
- Socket Set: For removing the caliper bolts.
- Turkey Baster or Brake Bleeder Kit: Helps remove excess brake fluid from the master cylinder.
- Brake Cleaner: To clean brake components.
- New Brake Pads: Ensure they are the correct type for your vehicle.
- Brake Fluid: Use the type recommended in your vehicle’s manual.
- Service Manual or Repair Guide: Always handy for specific vehicle instructions.
- Safety Gear: Gloves and safety glasses for your protection.
Now that you’ve got everything ready, it’s time to get your hands dirty.
Step 1: Safety First
Safety should always be your top priority when working on any automotive project. Here’s what you need to do before diving into the brake pad replacement:
- Park your car on a level surface and engage the parking brake.
- Wear safety glasses and gloves to protect your eyes and hands from dirt, grease, and brake fluid.
- Make sure you have adequate ventilation in your workspace as brake dust and fumes can be harmful if inhaled.
Step 2: Lift and Secure Your Vehicle
Using the jack and jack stands, lift your car off the ground. Consult your vehicle’s manual for the correct jacking points. Once your vehicle is securely raised, double-check that it’s stable on the jack stands. Safety is paramount, so never work under a vehicle that’s only supported by a jack.
Step 3: Remove the Wheels
Use the lug wrench to remove the lug nuts from the wheel. Carefully take off the wheel and set it aside.
Step 4: Locate the Brake Caliper
Now, you’ll see the brake caliper assembly. It’s the clamp-like component that encases the brake rotor. The caliper is held in place by bolts on the backside. Before you remove it, take a moment to inspect the condition of the caliper and the brake rotor.
Step 5: Remove the Caliper
Using a socket set, remove the caliper bolts. These bolts are usually located on the backside of the caliper. Once removed, carefully slide the caliper off the rotor. Be cautious not to damage the brake line attached to the caliper. You may need to use a C-clamp or brake caliper tool to compress the caliper piston if it won’t easily slide off.
Step 6: Inspect and Clean
With the caliper removed, take a close look at the brake rotor and the old brake pads. Check for any signs of unusual wear, scoring, or damage. If the rotor is severely damaged or the pads are worn down to the metal, you might need to replace more than just the pads. If everything looks good, proceed to remove the old brake pads.
Step 7: Remove Old Brake Pads
Gently slide the old brake pads out of the caliper bracket. Pay attention to how they’re positioned and the order in which they’re removed. You’ll need this information when installing the new pads.
Step 8: Clean the Caliper Bracket
Before installing the new pads, it’s essential to clean the caliper bracket thoroughly. Use brake cleaner and a wire brush to remove any dirt, rust, and debris. A clean bracket ensures proper seating of the new pads and prolongs their lifespan.
Step 9: Install the New Brake Pads
Now it’s time to put those shiny new brake pads to work. Slide them into the caliper bracket exactly as you removed the old ones, following the same order and orientation. Double-check that the pads are correctly positioned.
Step 10: Reattach the Caliper
Carefully slide the caliper back over the new brake pads. Align it with the caliper bracket and reinsert and tighten the caliper bolts. Refer to your vehicle’s service manual for the specified torque setting for these bolts.
Step 11: Bleed the Brakes (If Necessary)
If you opened the brake fluid system while compressing the caliper piston, it’s essential to bleed the brakes to remove any air bubbles. This step ensures that your brakes will work correctly. You can use a brake bleeder kit or the old-school method with a partner pumping the brake pedal. Consult your vehicle’s manual for specific bleeding instructions.
Step 12: Replace the Wheel
With the caliper securely in place and the brakes bled if necessary, put the wheel back on. Hand-tighten the lug nuts as much as possible to ensure the wheel is properly centered.
Step 13: Lower Your Vehicle
Carefully lower your vehicle using the jack and jack stands until the wheels touch the ground. Once your car is on the ground, use a torque wrench to tighten the lug nuts to the manufacturer’s specifications. This ensures the wheel is securely fastened.
Step 14: Test Your Brakes
Before hitting the road, pump the brake pedal a few times to ensure it feels firm. Start your car and press the brakes while in a safe, open area to make sure they are working correctly. Listen for any unusual noises and pay attention to how the brakes respond.
Step 15: Repeat on the Other Side
If you’re replacing the front brake pads, repeat the entire process on the other front wheel. If you’re doing the rear brakes, move on to the rear wheels and follow the same steps.
Conclusion
DIY brake pad replacement is a rewarding and cost-effective way to maintain your vehicle and ensure your safety on the road. By following this step-by-step guide and taking your time, you can confidently tackle this essential car maintenance task. Remember that safety always comes first, so don’t rush the process, and consult your vehicle’s manual for any specific instructions or torque specifications. With a little patience and the right tools, you’ll be cruising smoothly with confidence in your newly replaced brake pads.